Introduction: Why This Dish Is Special
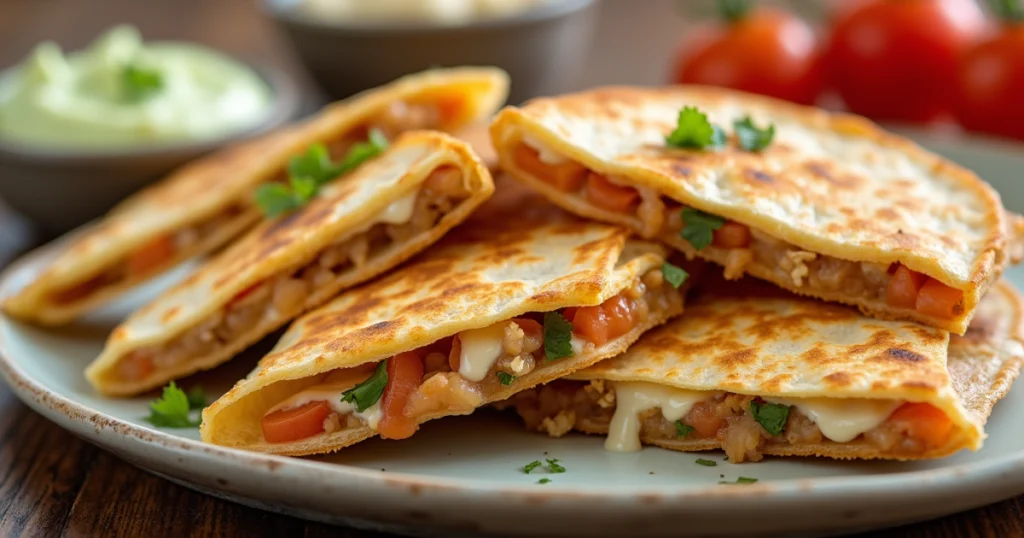
The simplicity and deliciousness of quesadillas, a mainstay of Mexican cuisine, have won hearts all over the world. What makes them special is their versatility; you can fill them with just cheese or add a variety of proteins, veggies, and spices. With a crispy golden tortilla encasing gooey, melted cheese, quesadillas strike the perfect balance of texture and flavor. Whether you’re preparing a quick snack or a hearty meal, quesadillas fit every occasion.
Table of Contents
Ingredients Needed
To make a basic quesadilla, you’ll need:
- Tortillas: Corn or flour, depending on your preference.
- Cheese: Monterey Jack, Oaxaca, mozzarella, or cheddar cheese, shredded.
- Optional Fillings: Cooked chicken, beef, beans, bell peppers, onions, or spinach.
- Butter or Oil: For cooking, to achieve a crispy exterior.
Required Kitchen Tools
- Non-stick Skillet or Griddle: Essential for even cooking.
- Spatula: For flipping the quesadilla.
- Knife or Pizza Cutter: For slicing into wedges.
- Grater: To shred cheese for better melting.
Step-by-Step Preparation

Step 1: Prep Your Ingredients
Shred your cheese, chop any additional fillings, and warm up your tortillas.
Step 2: Heat the Skillet
Preheat your skillet or griddle over medium heat. Lightly grease it with butter or oil.
Step 3: Assemble the Quesadilla
Place a tortilla on the skillet. Sprinkle a liberal amount of shredded cheese on half of the tortilla, then add your desired contents. Fold the tortilla in half.
Step 4: Cook the Quesadilla
Cook for 2-3 minutes on one side, then carefully flip using a spatula. Cook until the cheese is completely melted and golden brown on the opposite side.
Step 5: Slice and Serve
Transfer the quesadilla to a cutting board, slice into wedges, and serve immediately.
Tips for Perfect Results
- Don’t Overfill: Too much filling makes flipping messy.
- Low to Medium Heat: Prevents burning while ensuring the cheese melts perfectly.
- Cover the Skillet Briefly: Traps heat for better cheese melting.
- Use Fresh Tortillas: They’re less likely to crack and deliver a better taste.
Serving and Garnishing
Garnish your quesadilla with freshly chopped cilantro or a squeeze of lime. Serve alongside dips like guacamole, sour cream, or salsa for extra flavor.
Pairing Suggestions or Variations
Pairing Suggestions
- Mexican rice or beans for a hearty meal.
- A crisp side salad with a zesty dressing.
Variations
- Breakfast Quesadilla: Add scrambled eggs and bacon.
- Vegetarian Quesadilla: Use black beans, mushrooms, and spinach.
- Spicy Quesadilla: Incorporate jalapeños or hot sauce.
Nutritional Benefits
Quesadillas can be a balanced meal when made with whole-grain tortillas, lean proteins, and plenty of veggies. Cheese provides calcium and protein, while additional fillings can boost fiber and vitamins.
Storage Tips
- Refrigeration: Keep leftovers for up to three days in an airtight container.
- Freezing: Wrap individual quesadillas tightly in foil or plastic wrap and freeze for up to 2 months.
- Reheating: Warm in a skillet to restore crispiness or use an oven for even heating.
Conclusion
Quesadillas are the ultimate comfort food—simple, quick, and endlessly customizable. Whether you’re making a classic cheese version or experimenting with gourmet fillings, they’re guaranteed to be a crowd-pleaser.
FAQs
Q1: Which cheese works best with quesa-dillas?
Oaxaca, cheddar, or Monterey Jack are excellent options due to their meltability.
Q2: Can I make quesa-dillas in advance?
Yes, but for the most crispiness, they’re best eaten fresh.
Q3: Are quesa-dillas gluten-free?
Use corn tortillas to make them gluten-free.
Q4: What’s the best way to reheat quesa-dillas?
Reheat in a skillet for a crispy texture or in the oven for even heating.
Q5: Can I make quesa-dillas without cheese?
Yes! Opt for dairy-free alternatives or skip cheese entirely and fill with flavorful veggies and proteins.
